World of Warcraft Dwarf - Sculpture
For my second year character project we had to create a character in the style of WOW i decided to design a dwarf using references from the game as well as concept artwork showcasing the games style and designs. I started with a basic base mesh then used zbrush to detail and shape my character in the same ways shown in my references.

Reference images by Tyson Murphy https://www.artstation.com/murph

Panorama image from WOW character creation page

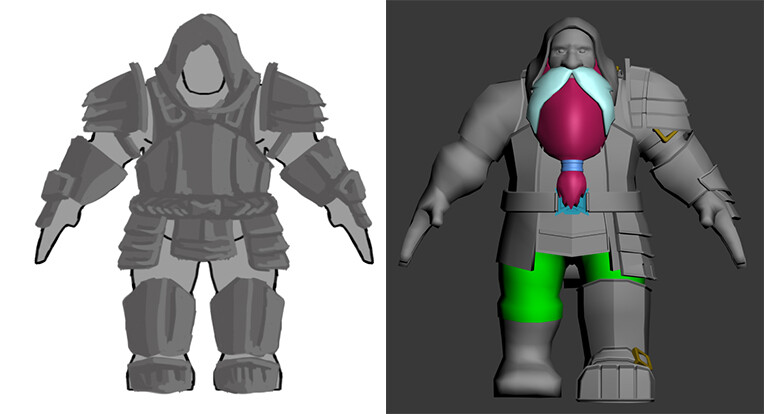
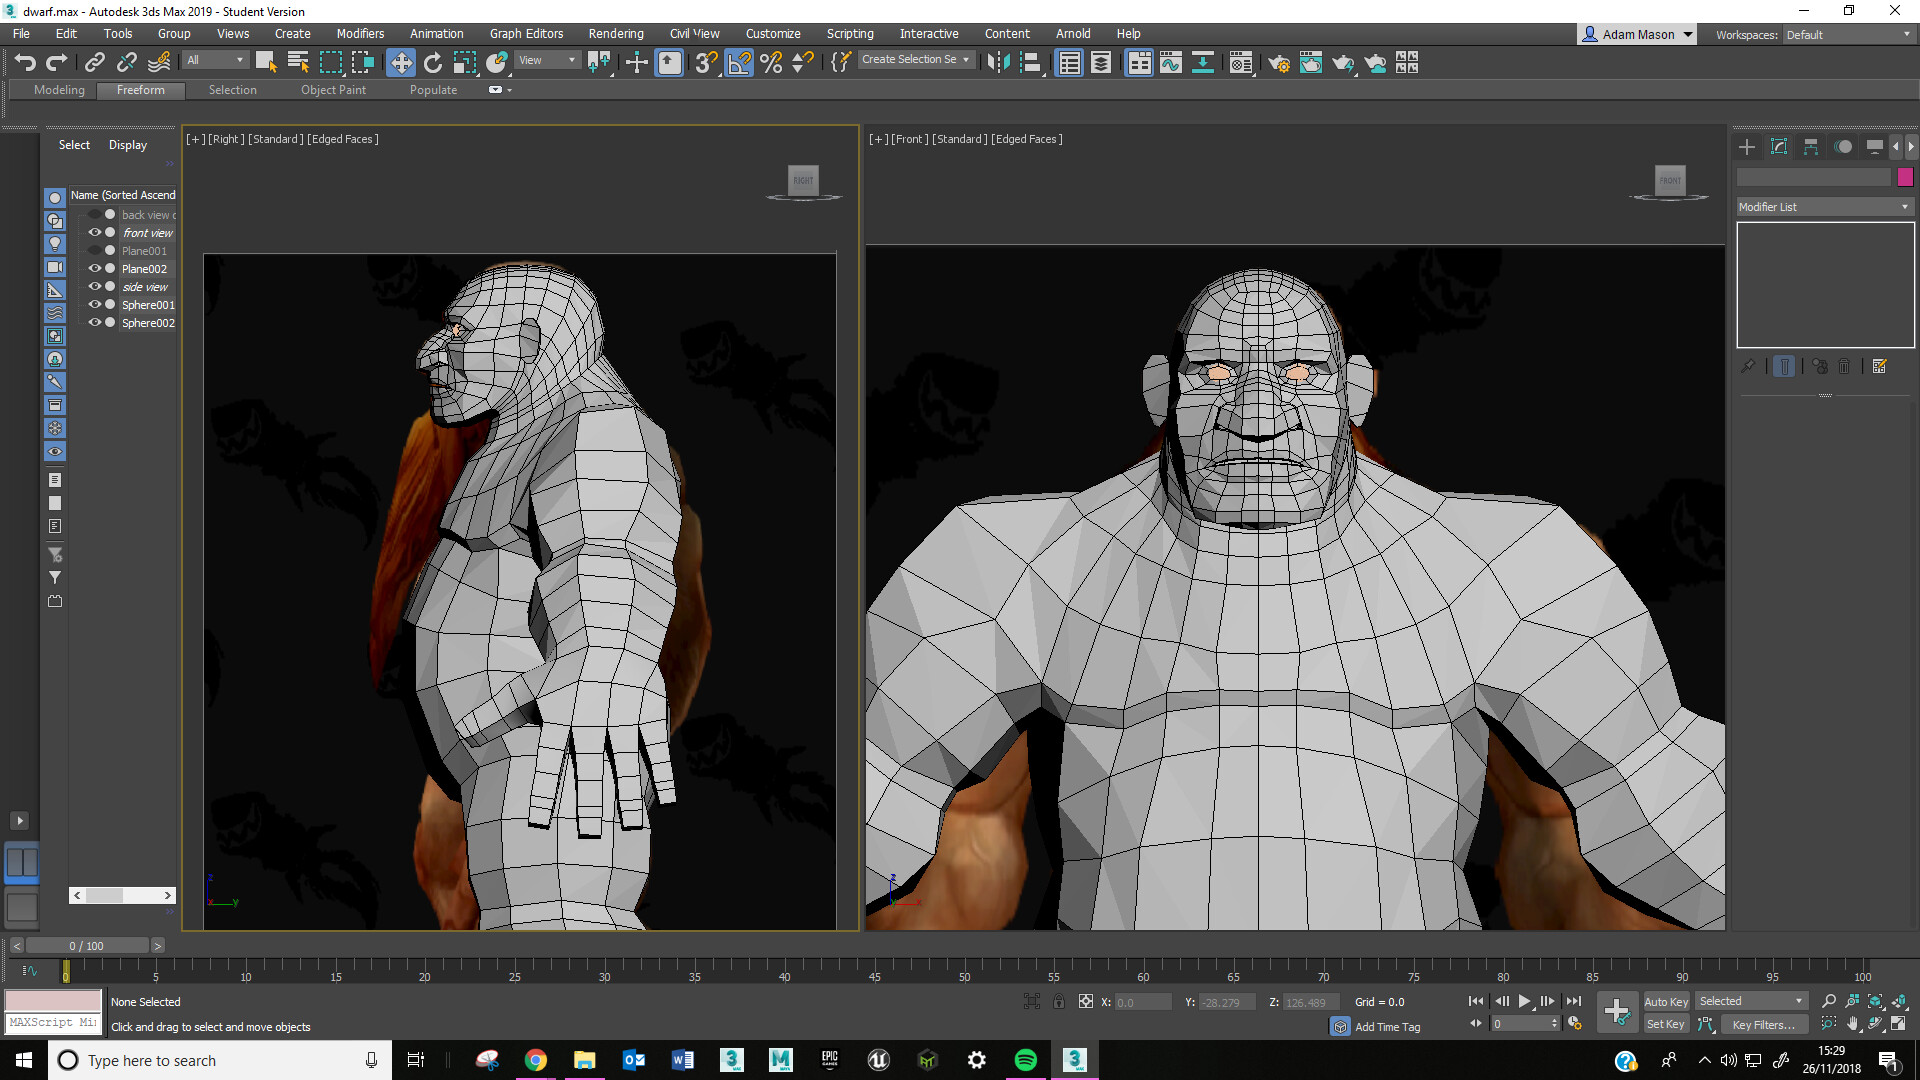
Started off by creating the base mesh using images from the game.
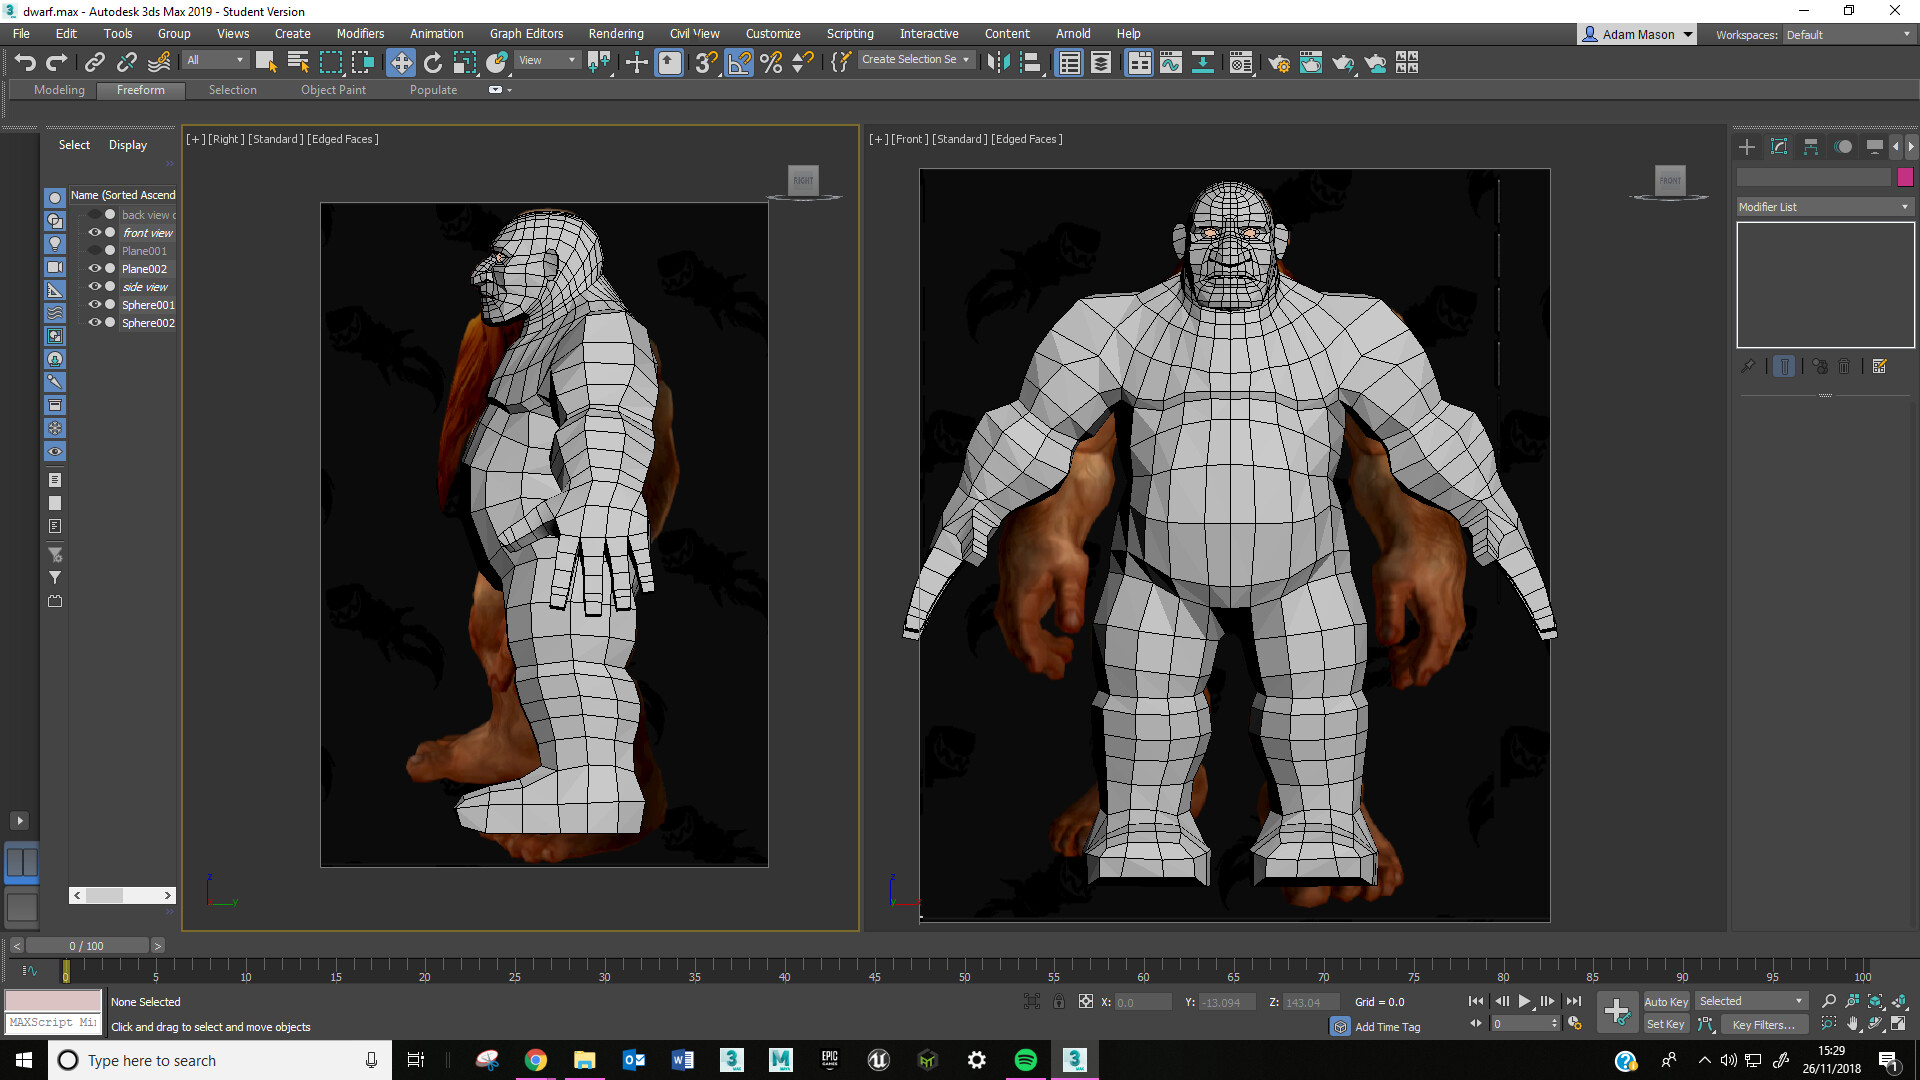


After filling in the body i moved on to the head where i expanded the features to make them more stylised.


I started to bring in different assets like facial hair as well as clothing and accessories.


moving down the body i refined details on the hands and chest as well as sculpting the muscles more to fit with the style.


Clothing like the hood had creases and folds added where needed and made sure to bulge and crease where body parts stuck out more.


The final steps of the clothing was to add damage rips, tears etc, i also added some surface textures to show what type of material each asset was made out of.


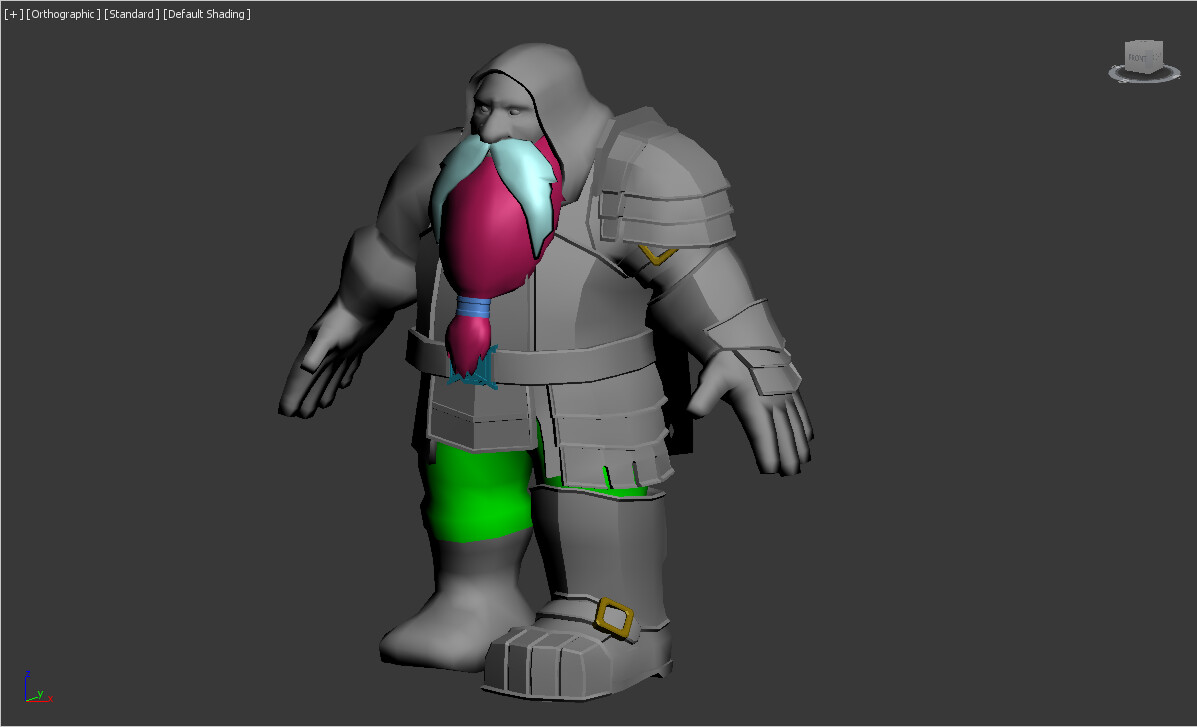


The armour was then taken into zbrush where i added wear and tear around the edges as well as adding dents and forge marks around the larger surfaces.


The final stage much like clothing was to add damage as well as markings and patterns into the armour, the addition of chips and cracks in the armour give more details to otherwise blank areas.


The weapon was also made separately in Max using a reference image from the internet to help with size and shape of the barrel ad stock.


Damage and texture was added later in zbrush along with some patterns that match the armour and clothing.


